Please note that this deployment type is not yet tested and we might still run into some more mysteries.
Step-by-step guide
I did all of it on portal.azure.com finally. All steps can be done in Azure CLI 2.0 too but somehow the UI version was better for my try and error approach.
| Setup Phase | Step | Images | Open question |
|---|
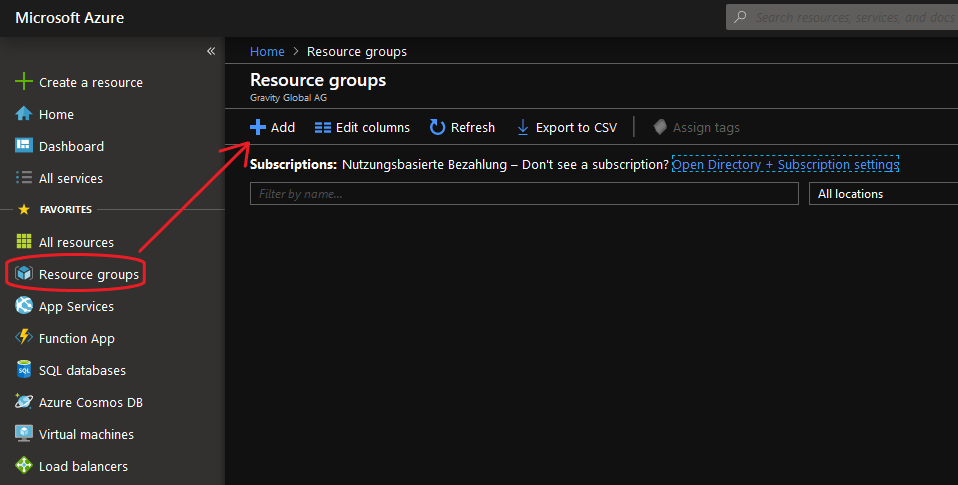
| Resource Group | - For all of this setup, you need a resource group.
- There are naming conventions but for now I am happy that I made it and do not care about respecting those 100%.
- Create a new Resource group (left panel or search box).
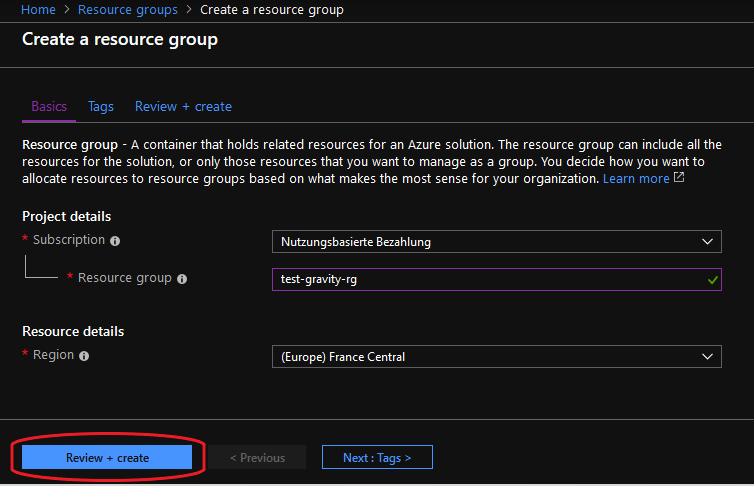
- Choose an appropriate region, name it so you know which one it is and press Review + create.
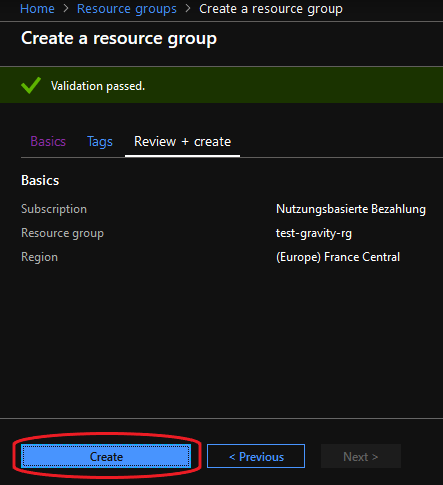
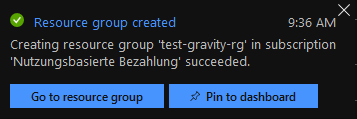
- If Validation passed press Create and wait until it's done.
- Go to fresh created resource group.
| |
|
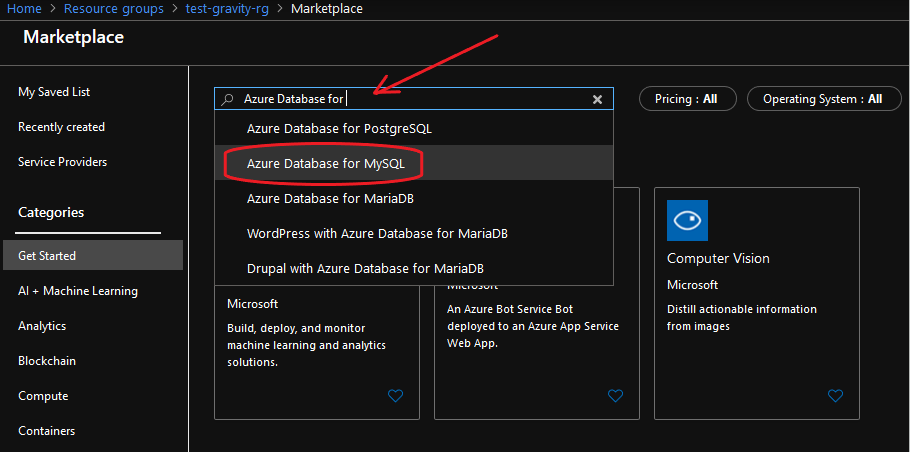
| Azure Database for MySQL servers | Not a "MySQL server"! - Add new resource to resource group by clicking on Add or Create resources.
- Search for Azure Database for MySQL. Select it and press Create.
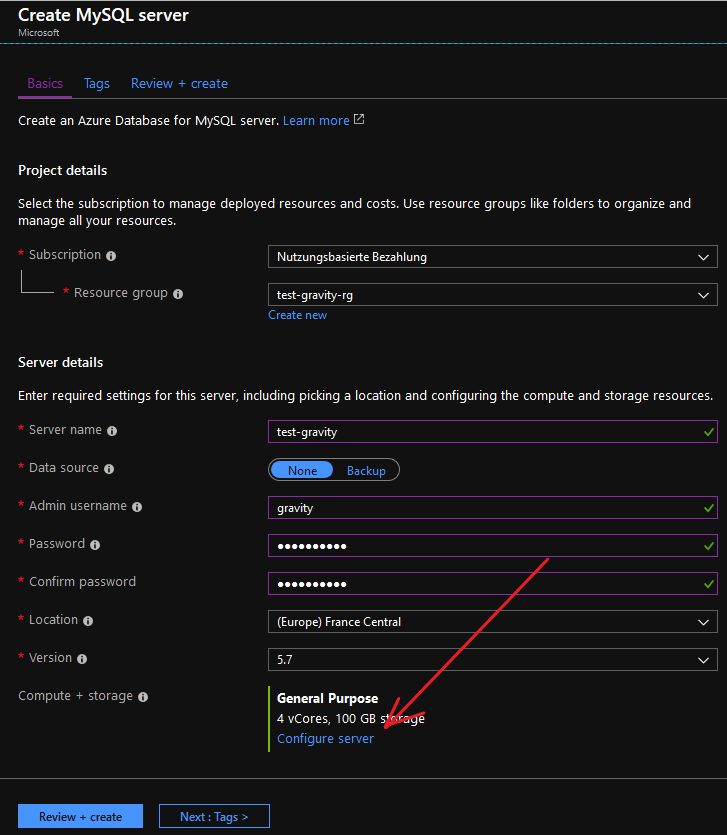
- Make note and save secure of the DB details you enter here.
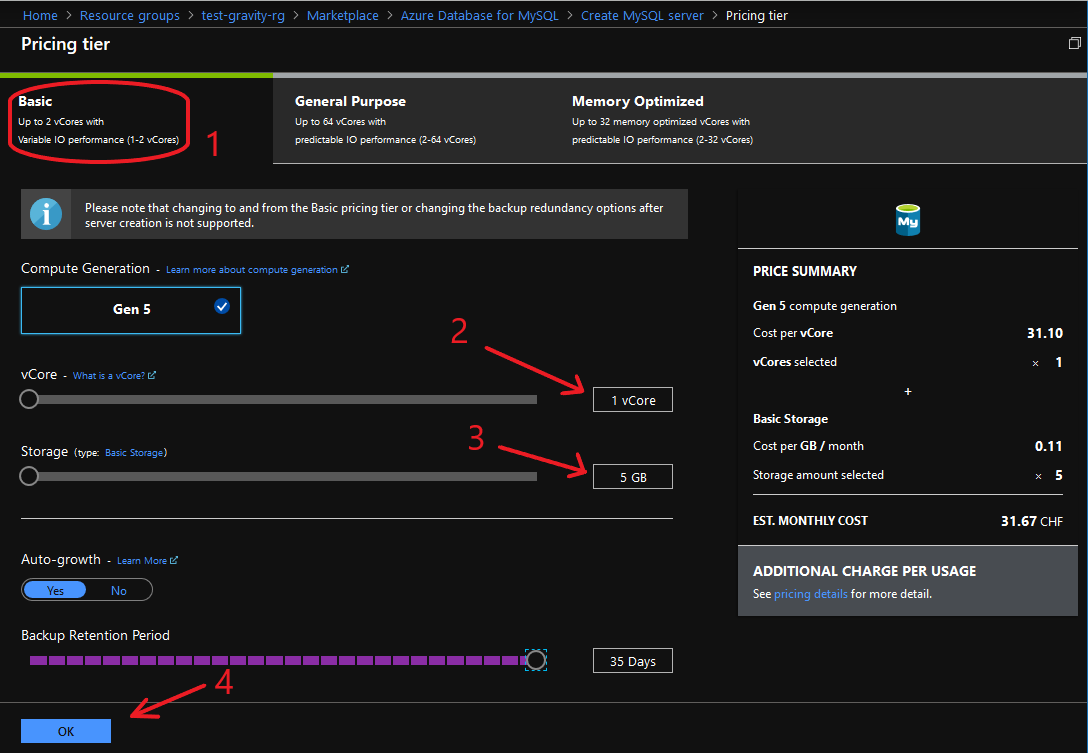
- Go to Configure server and choose a cheap pricing tier since gravity does not need much resources. Press OK to save the config.
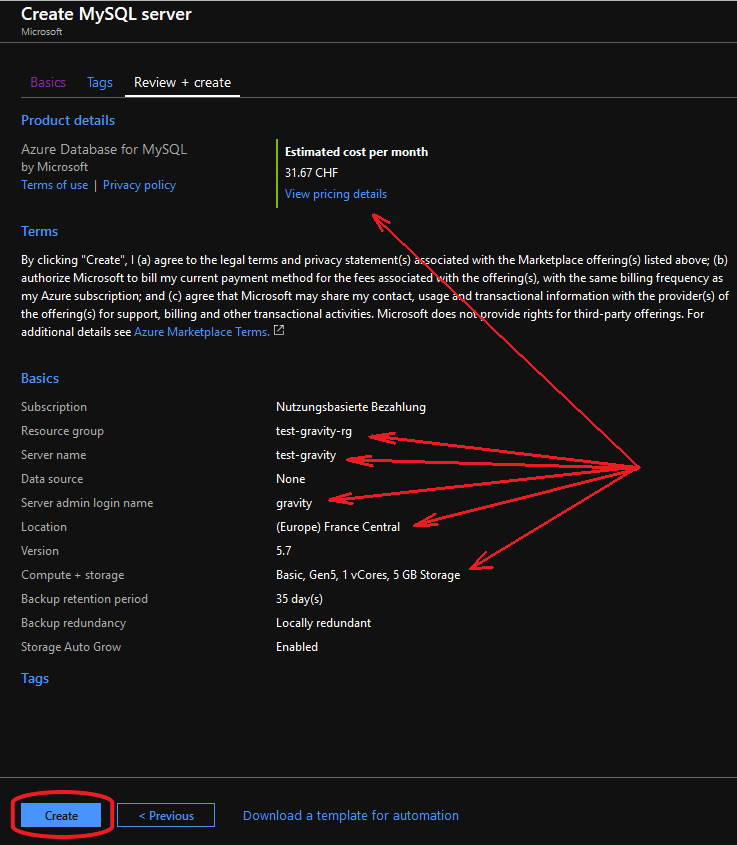
- Now hit Review + create.
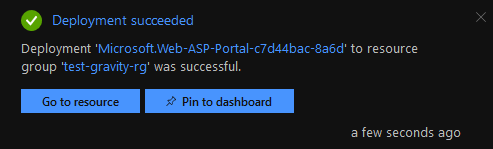
- Recheck all the data and, if it's all right, click Create
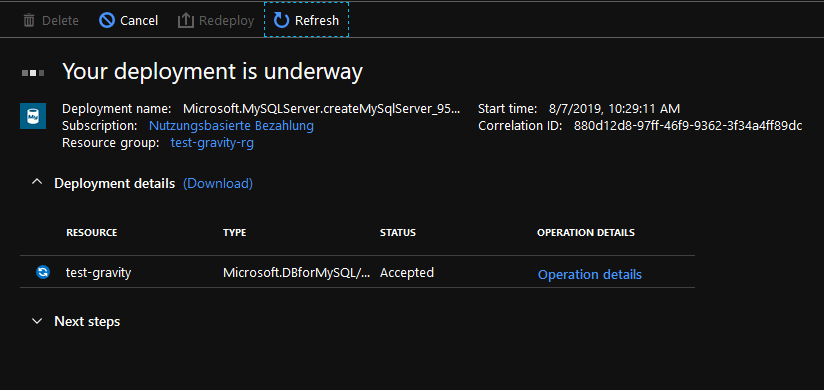
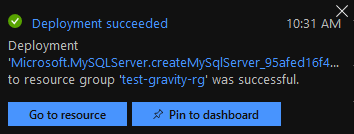
- Wait until your deployment is complete
- Go to resource
| |
|
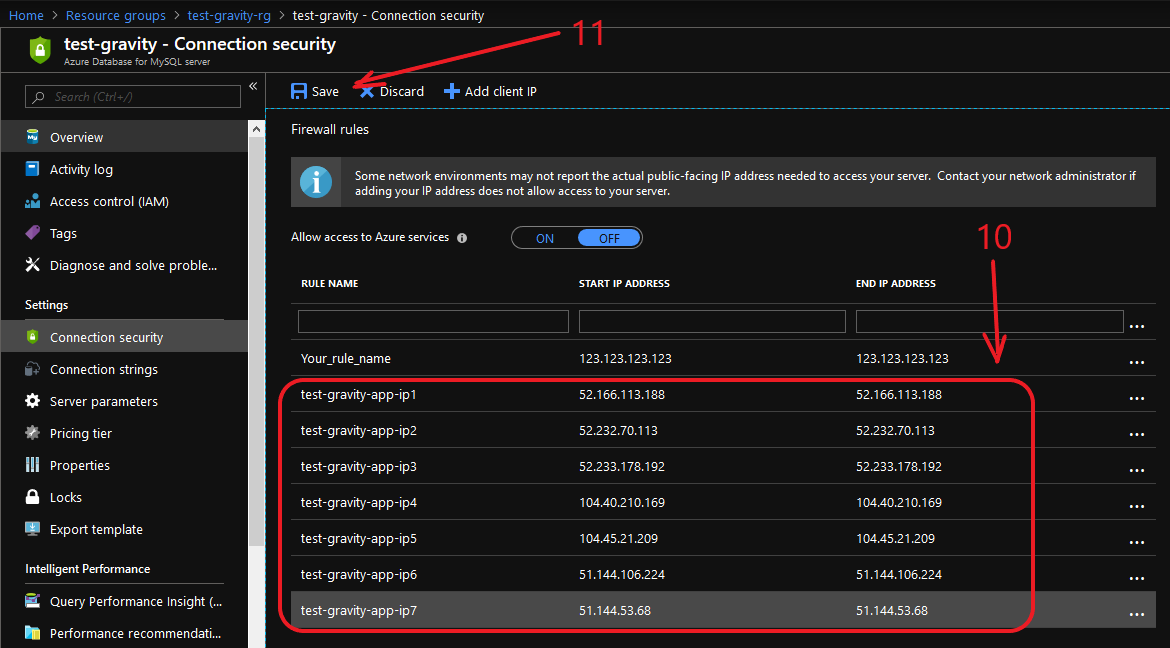
| Azure Database for MySQL Firewall Rule | - Go to section Settings - Connection security.
- Allow access to Azure services - OFF.
- Add a new firewall rule:
- I recommend to add the correct external ip (your private IP) so the server will be a bit more secure.
- if you are a little lazy and don’t know your external private IP(WAN), Azure Portal can determine your external private IP and automatically add it by click on the Add client IP.
- Save.
- Wait for successfully updated settings.
| 1-4.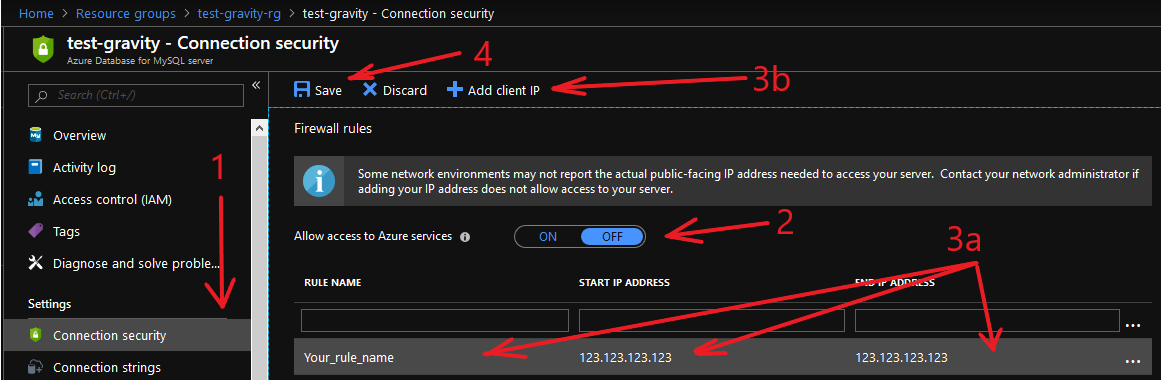 5. |
|
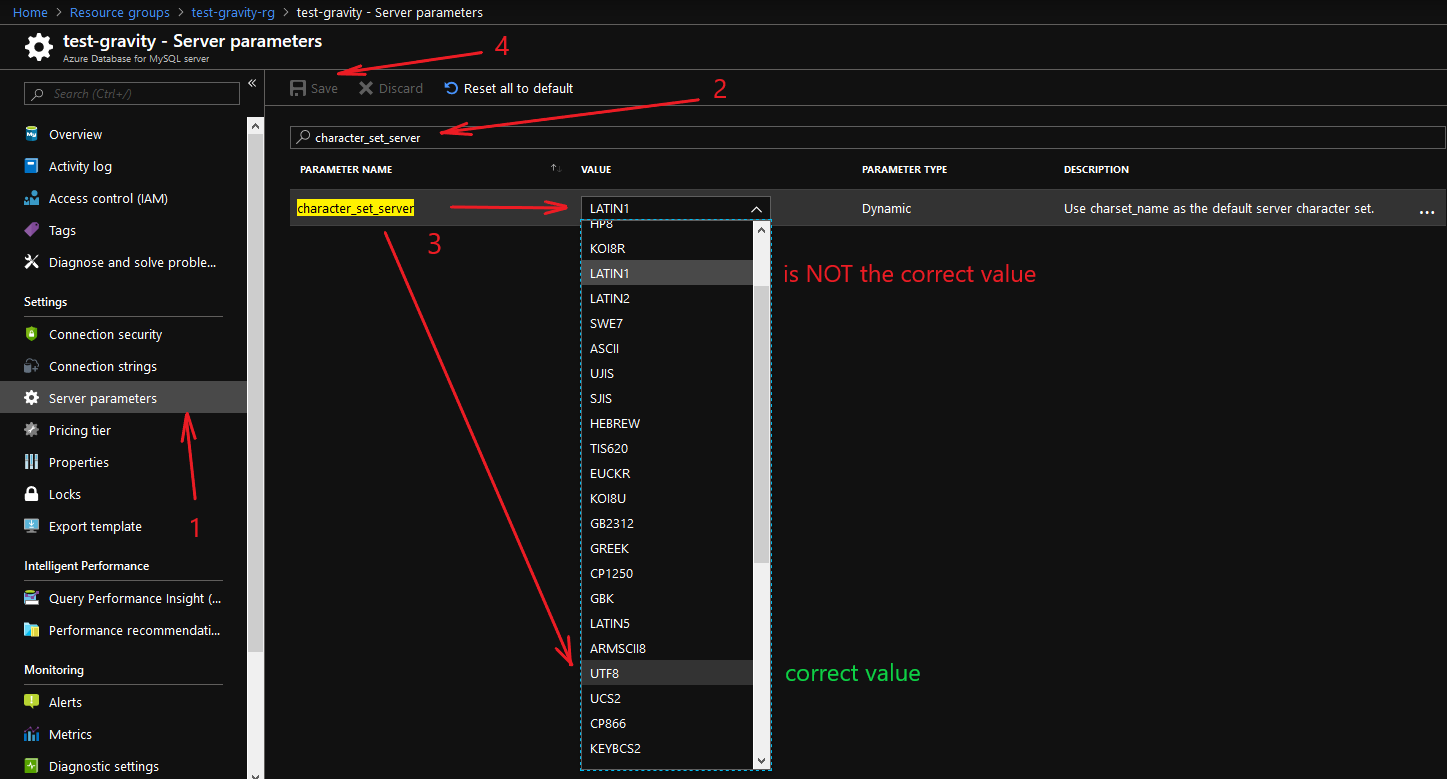
| Azure Database for MySQL Server parameters | - Go to section Settings - Server parameters.
- Start search by parameter name character_set_server
- By default, the value is LATIN1, but this is not true for the gravity-app! Сhange the value to UTF8 (This will change the setting globally on the server)
- Save parameters and wait for successfully updated server parameters.
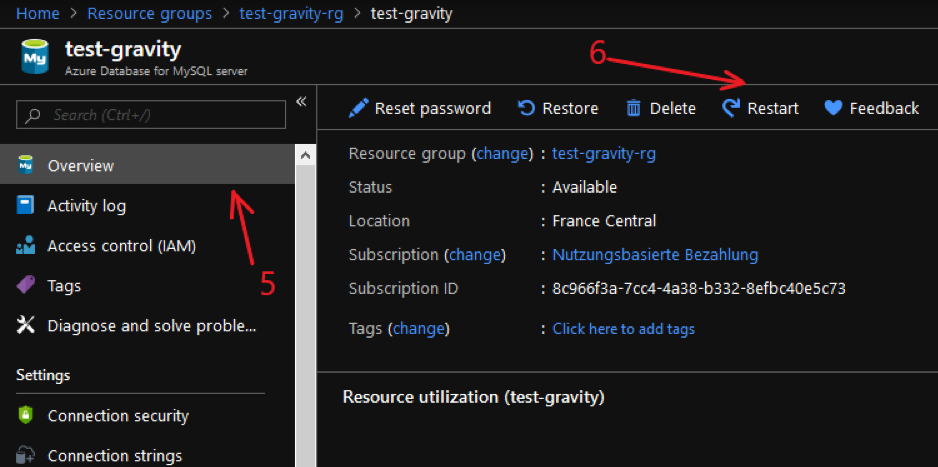
- Go to main section - Overview
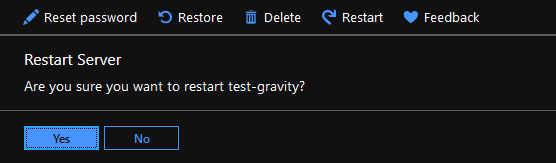
- Restart Server
- Press Yes and wait until your server will be restarted.
- Gravity-app needs a database which is not yet created, we have a plain SQL instance. Use your favorite mysql-client (The screenshot 7,8 shows an example with a Linux terminal), connect to the mysql server and create user and database (guide:Build a Java and MySQL App on VMs and Containers in Azure -> chapter "Configure the Azure MySQL database"). Bellow is an excerpt from medium, to see each step separately, visit the article of Benz:
- mysql -u gravity@test-gravity -h test-gravity.mysql.database.azure.com -P 3306 -p ENTERYOURPASSWORDHERE
- mysql> CREATE DATABASE gravity;
- mysql> CREATE USER 'gravityCRUD' IDENTIFIED BY '123456q.';
- mysql> GRANT ALL PRIVILEGES ON gravity.* to 'gravityCRUD';
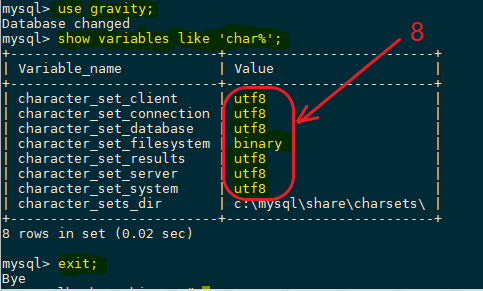
- Check encoding setting.Be sure that results are 'utf8' or 'binary'. 'latin1' or other sets should not be there:
- mysql> USE gravity;
- mysql> SHOW VARIABLES LIKE 'char%';
- mysql> exit;
- Go to section Settings - Connection strings and copy down the JDBC URL, we will need some parts of it later:
String url ="jdbc:mysql://test-gravity.mysql.database.azure.com:3306/{your_database}?useSSL=true&requireSSL=false&enabledTLSProtocols=TLSv1.1,TLSv1.2"; myDbConn = DriverManager.getConnection(url, "gravity@test-gravity", {your_password});
| |
|
| App Service Plan | Now we need an app pricing plan (we do this separately to show it nicely). You could create the plan while creating the app but I chose this way to make it more transparent. The Plan will assign your compute units and thereby your speed. - Add new resource to resource group by clicking on Add.
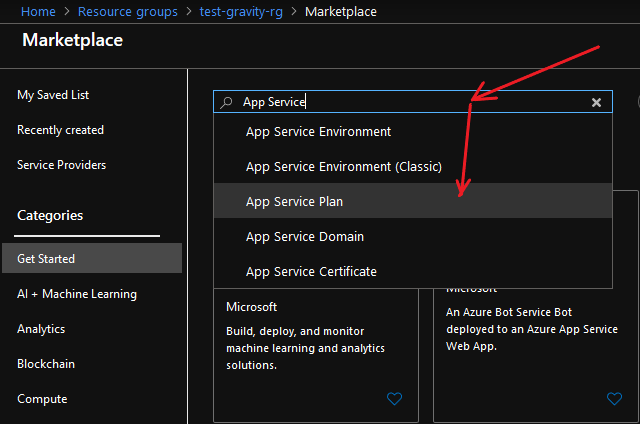
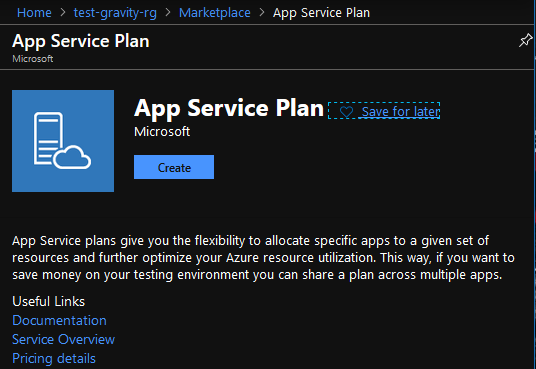
- Search for App Service Plan and select it.
- Press Create.
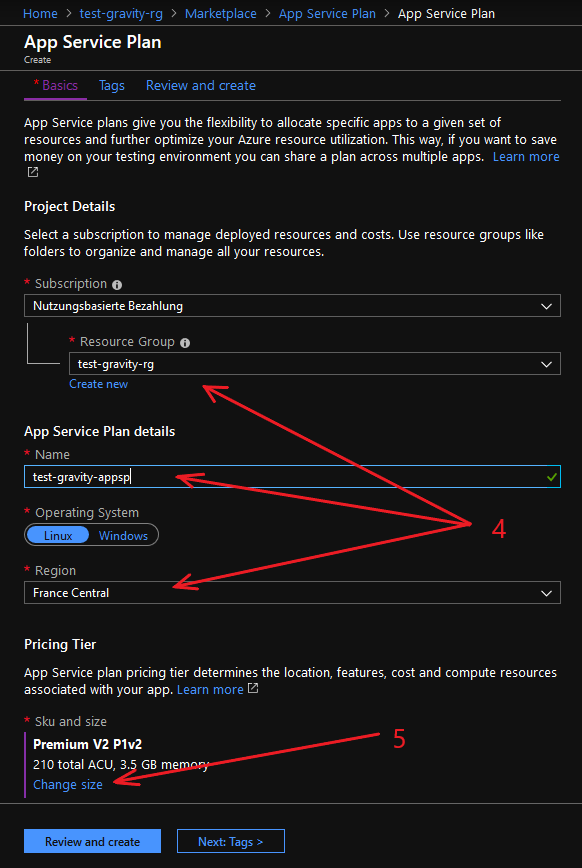
- Check selected Resource Group, give a name for your App Service Plan, select the Region.
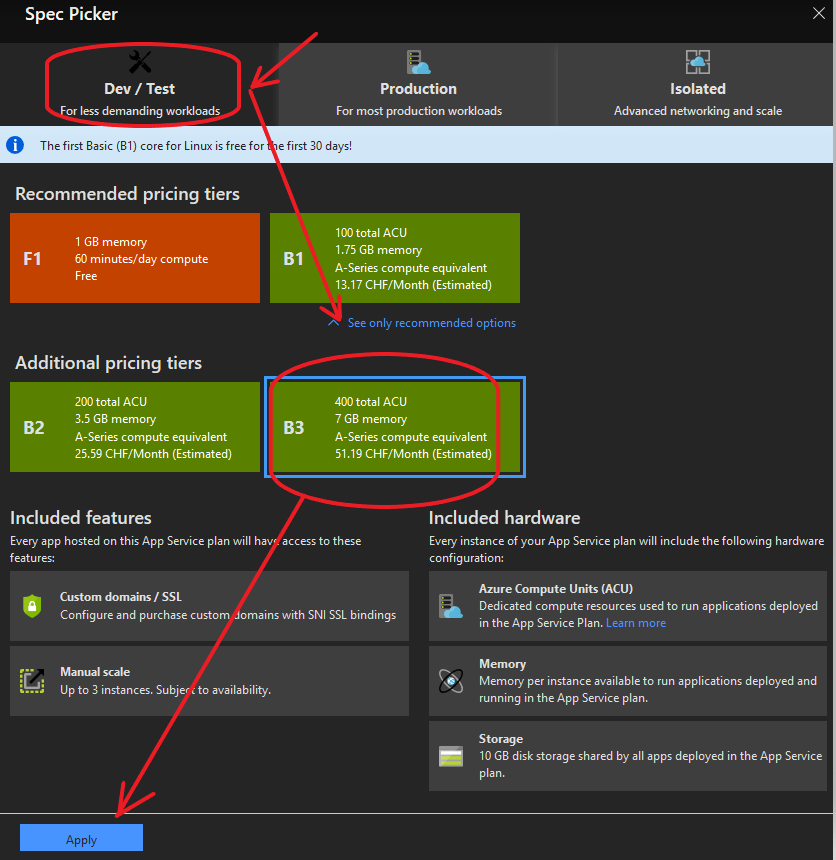
- Go to section Pricing Tier - Change size and select suitable pricing tier
- We use a B3 tier (by default this tier is hidden - Click on "See additional options")
- Apply changes
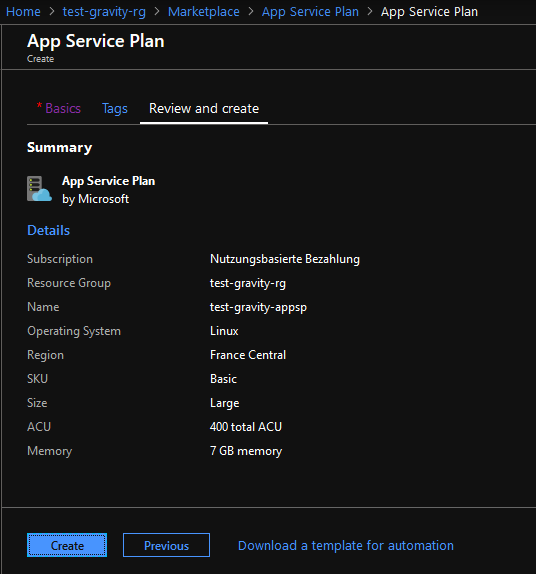
- Sku and size should be changed, press Review and create, check data one more time and press Create
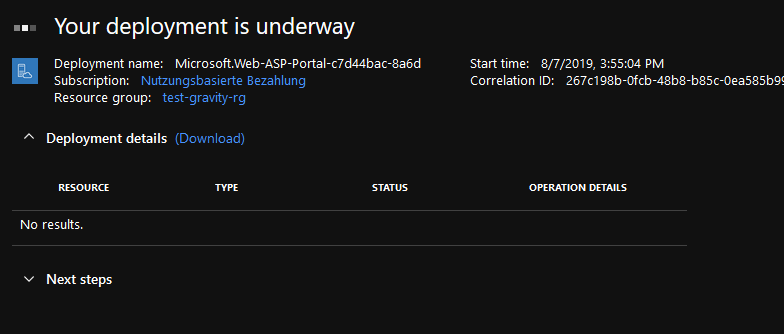
- Wait until it is done.
| |
|
| App Service | - Add new resource to resource group by clicking on Add.
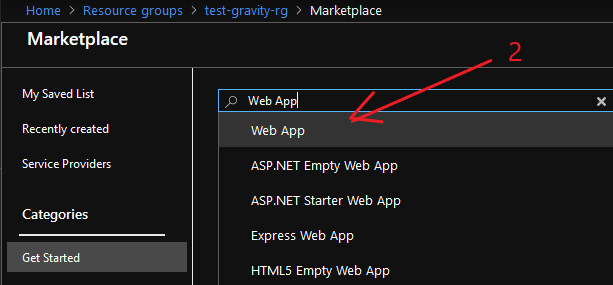
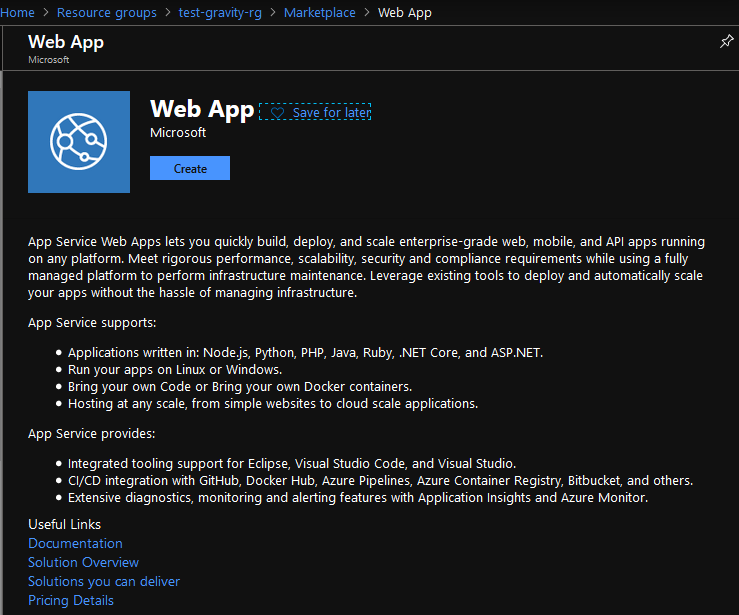
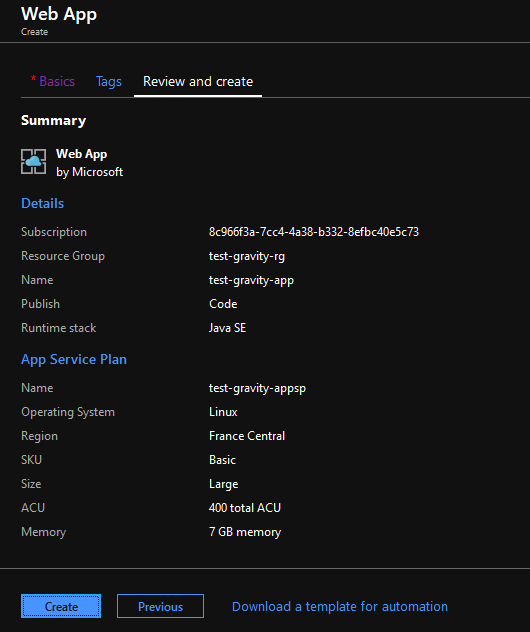
- Search for Web App and select it.
- Press Create.
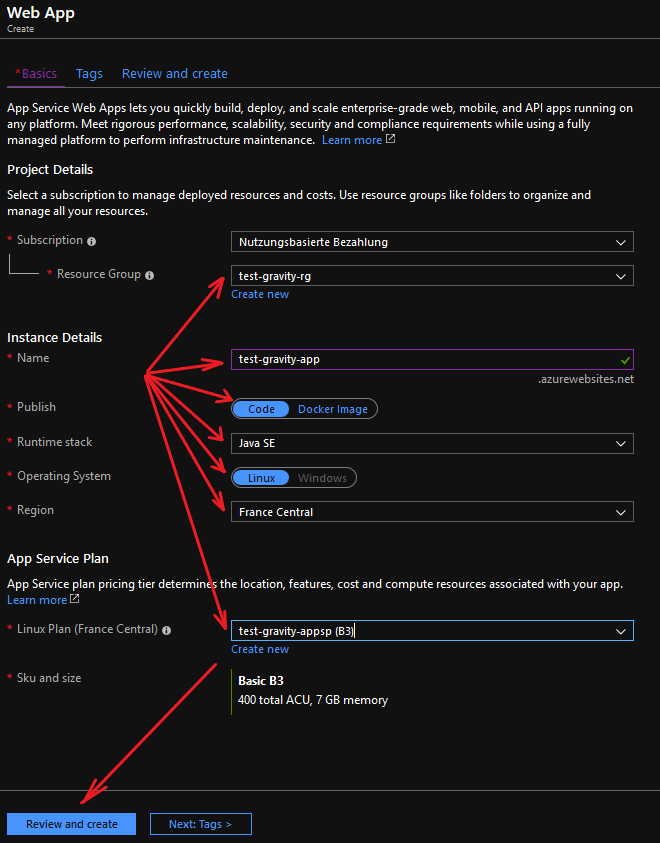
- Check selected Resource Group, give a name for the app, from Runtime stack select Java 17, select right Region, and choose previously created App Service Plan. (like on screenshot). Press Review and Create.
- Now check the data one more time and finally let's Create our web app.
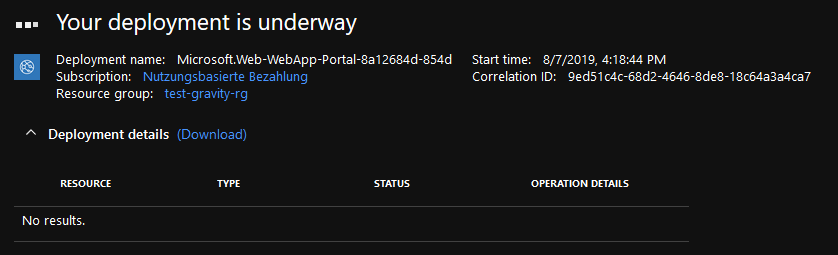
- Wait for it to finish.
- Go to resource.
| |
|
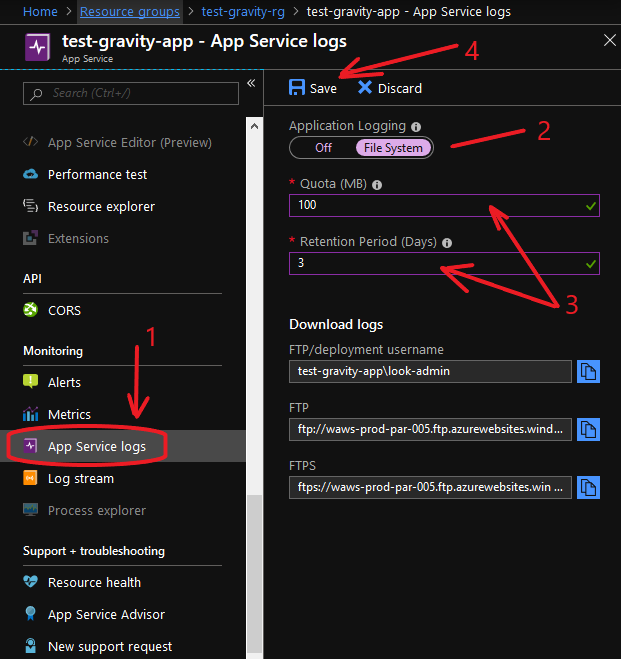
| Web App Config | - Prepare the Web App in section Monitoring - App service logs.
- Turn on the Application Logging to the File System mode
- Set the Quota to 100 and Retention Period to 3
- Save the App Service logs settings
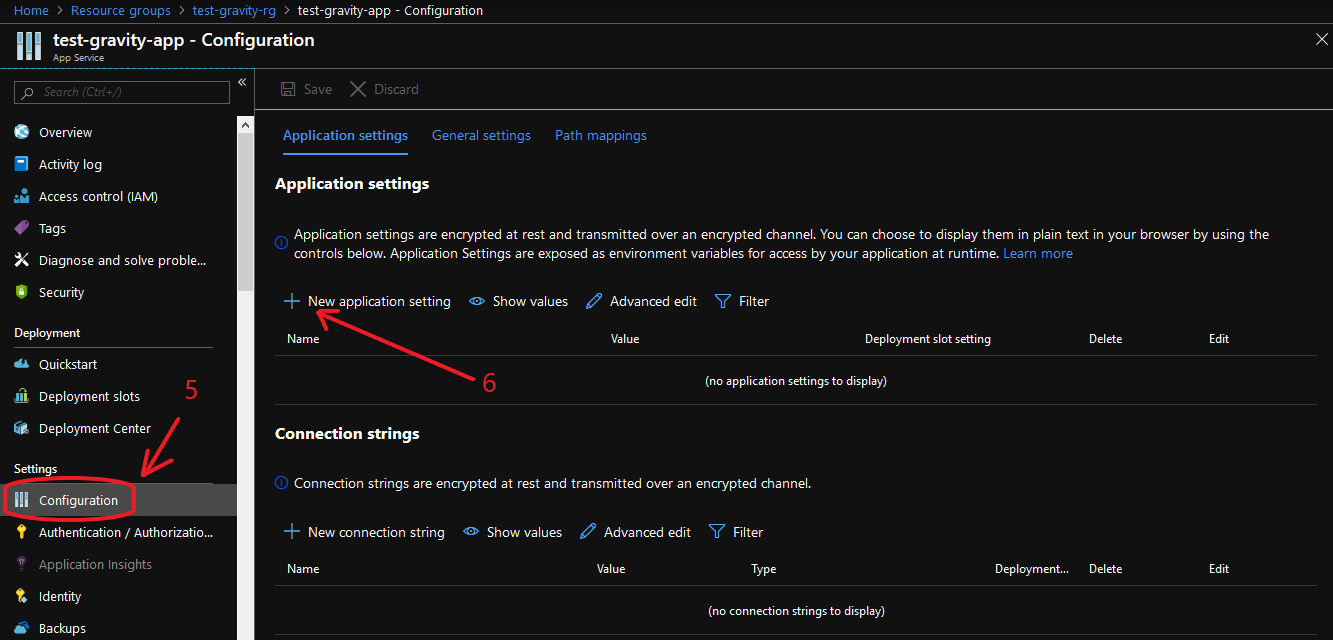
- Now we need to prepare more by going to section Settings - Configuration
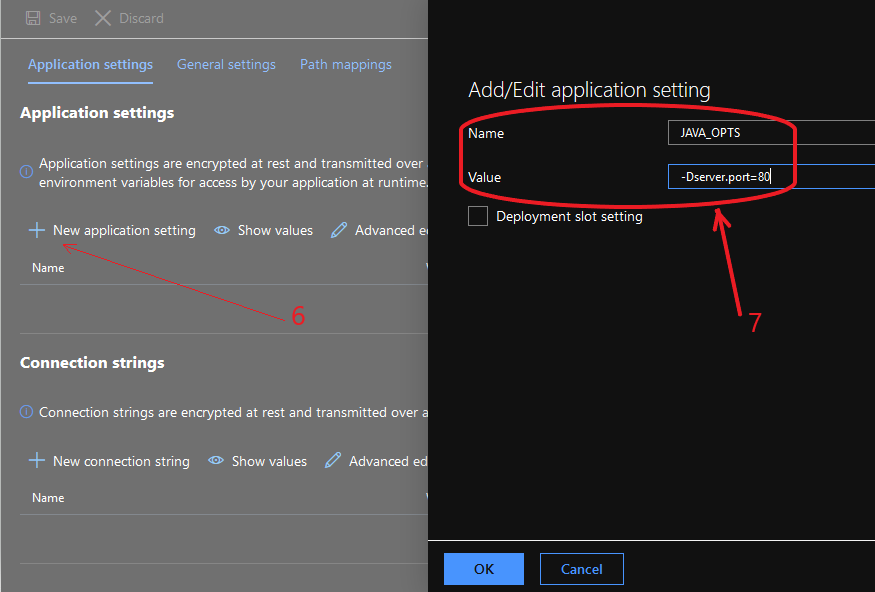
- Add some New application setting
- Add all application settings:
"Name": "JAVA_OPTS", "Value": "-Dserver.port=80"
"Name": "SPRING_DATASOURCE_PASSWORD", "Value": "123456q."
"Name": "SPRING_DATASOURCE_URL", "Value": "jdbc:mysql://test-gravity.mysql.database.azure.com:3306/gravity?verifyServerCertificate=true&useSSL=true&requireSSL=true"
"Name": "WEBSITE_HTTPLOGGING_RETENTION_DAYS", "Value": "3"
"Name": "SPRING_DATASOURCE_USERNAME", "Value": "gravityCRUD@test-gravity" - After adding, we get a beautiful list of options, now Save the configuraton.
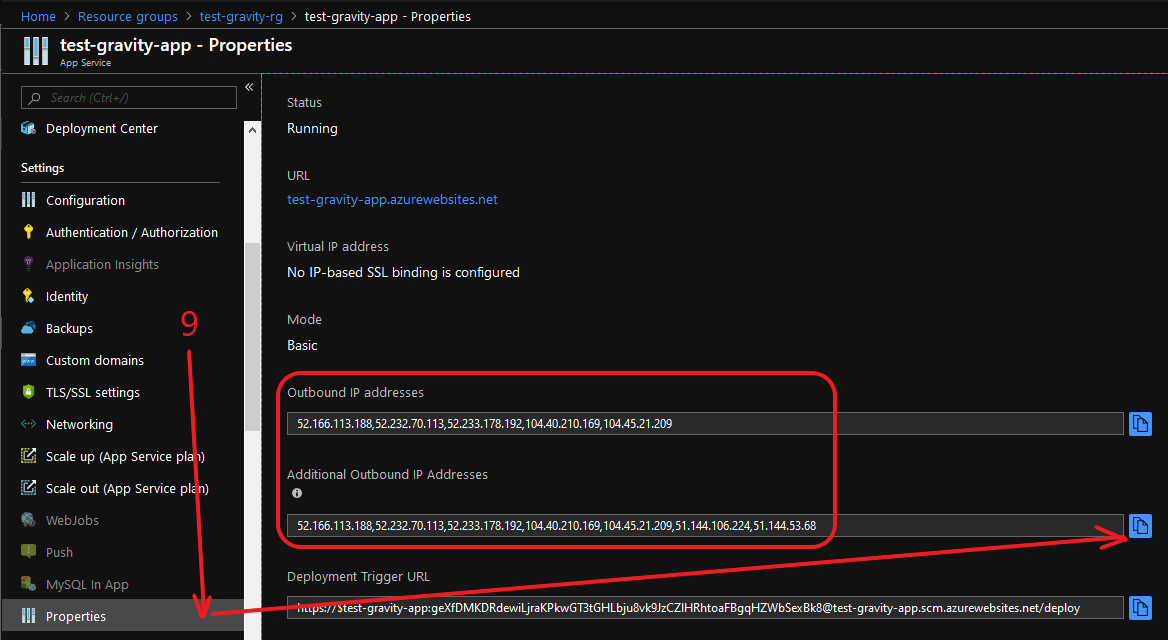
- Now we need to determine the ip addresses of our application by going to section Settings - Properties
- Copy all ip addresses from fields Outbound IP addresses & Additional Outbound IP Addresses and paste it to Firewall rules of MySQL Server
- Press Save.
| | How does this APPSETTINGS_ thing work that Azure does? Why does spring find them none the less? Has spring been enriched with this configuration option? Is always on needed? |
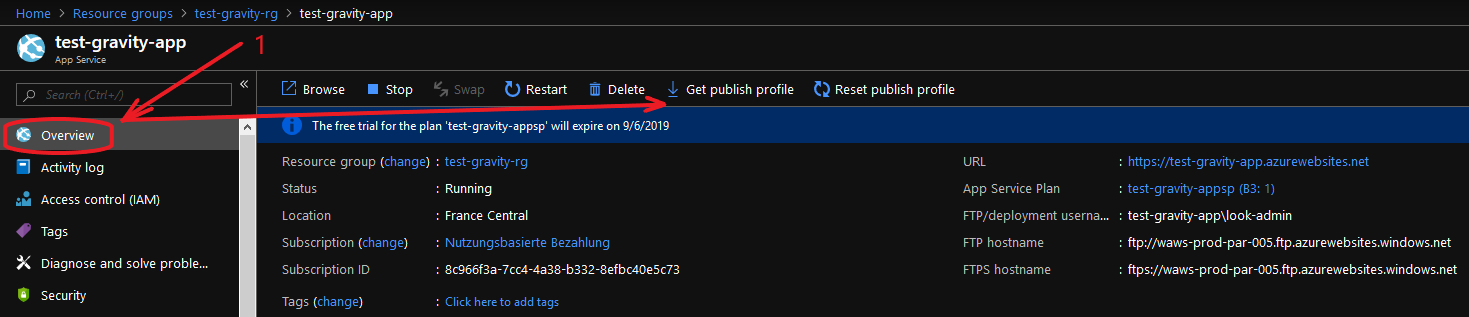
| Upload Executable | - Go to main section Overview and Get publish profile.
- Open the publish file and get the three credentials:
- publishUrl="ftp://waws-prod-par-005.ftp.azurewebsites.windows.net/site/wwwroot"
- userName="test-gravity-app\$test-gravity-app"
- userPWD="ncidpwum7GFp2CFGWtahyyrix6gwm6mB7DblvgsqLaSxiYwivtetSvCGBilJ"
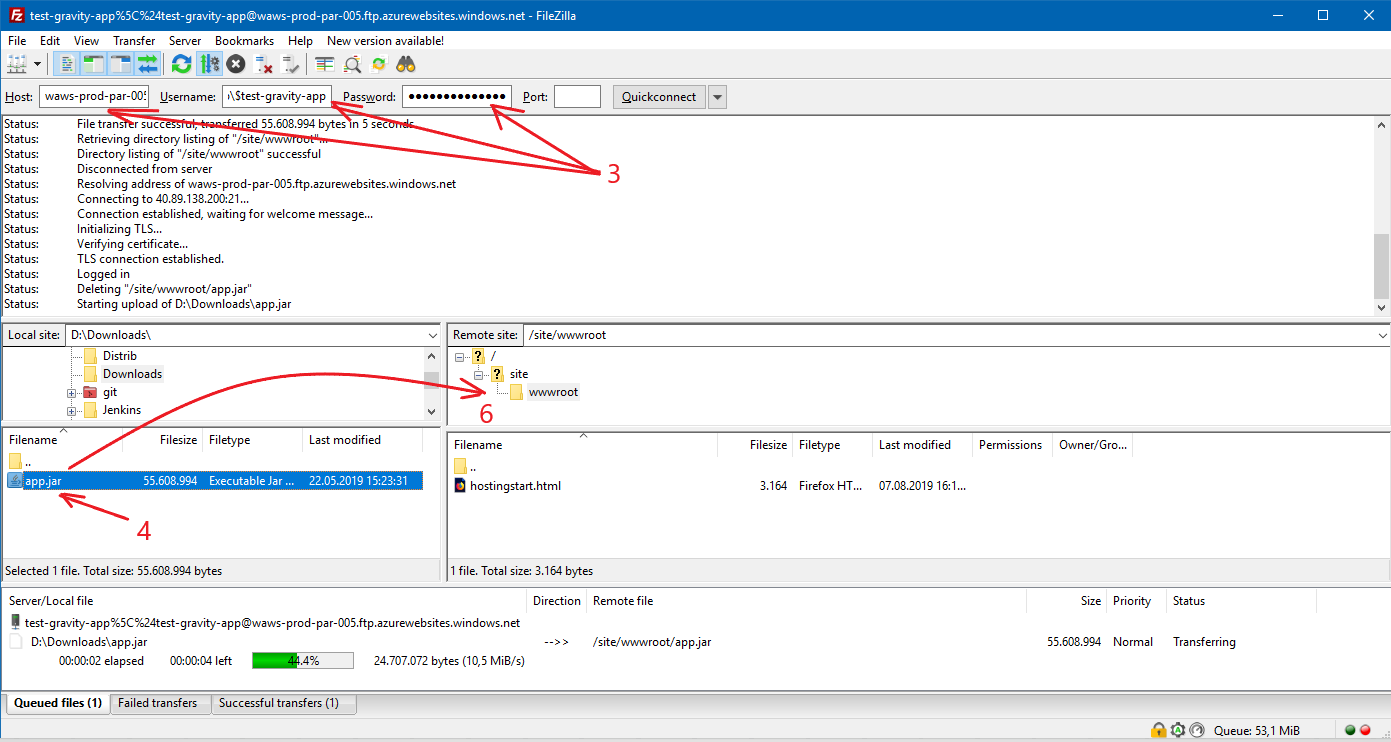
- Open your favorite FTP client (in my case it is FileZilla) and using the three credentials obtained from the publication profile connect to ftp server:
- value from publishUrl copy to Host field
- value from userName copy to Username field
- value from userPWD copy to Password field
- Rename our backend to "app.jar"
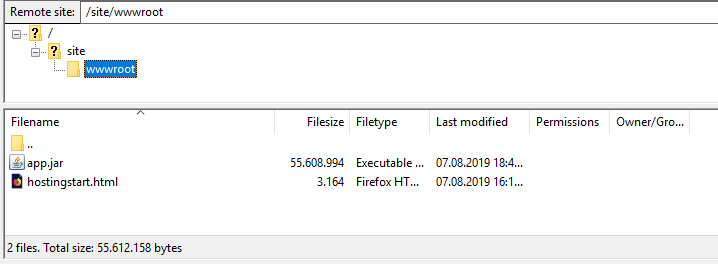
- Upload it to "wwwroot"
- Wait until upload complete
| | Does the name of the JAR matter? |
| Dark magic | - Go to main section Overview and Stop the Web App.
- Hit Start and prepare to wait at least 10 min (somehow I do not trust the Restart button, it disappointed me several times I had the impression).
- Tail the logs with the Azure CLI 2.0 (you might need to login but the az cli team rocks and automated it nicely, see bottom page). Our use the Log Stream of the Web App.
| 1.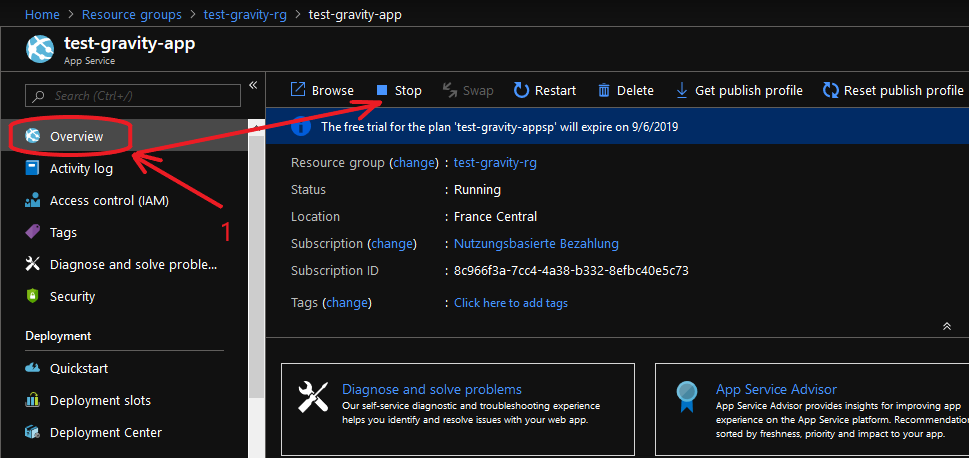
| This is absolutely intransparent. I do not get how it works and why the logs are delayed or appearing in batch. Is the URL hit needed? |
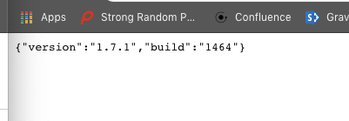
| Start | Finally, takes around 10 minutes, hit our info URL to check:
| | Whey does it take so long? |